Developing Bat Speed and Power in the
Baseball Swing
How To Swing The Bat For More Speed and Power
THE BASEBALL SWING: Part 1 of 4 – The Stance
Part 1 – The Stance
Part 2 – The Loading Phase
Part 3 – The Launch Phase
Part 4 – The Follow Through
The baseball swing consists of three main phases: 1) the loading phase, 2) the launching phase, and 3) the follow-through.
Each player, with their own unique style, may find themselves making adjustments to their swing depending on the type of pitch, it’s location, the pitch count, the number of outs, weather conditions and the position of the defense, to name a few. However, regardless of the batting style used and the adjustments made to it during game-time situations, the muscles involved in the baseball swing always remains the same.
In this article, we identify all the major muscles used in each phase of a typical swing for the right-hand batter. Once you learn which muscles are involved in the swing and condition each of them for speed and power, your will become a more focused, confident and productive hitter.
However, before any of these phases are executed and the muscles are identified, getting into the proper stance is required. Therefore, let’s first identify the basic stance position along with a few variations to it for the baseball player.
The Stance
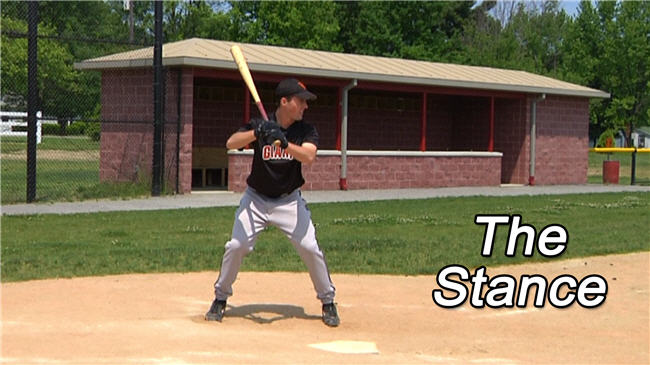
The baseball swing begins with getting into the proper stance. Figures 1-7a, 1-7b, 1-7c and 1-7d show four different views of this.
Feet and hand position vary from player-to-player more than anything else. In Figure 1-7a, the batter has chosen to stand with his feet a little more than shoulder width apart. A firm grip of the bat is usually preferred, and the height of the hands as well as the distance they are in front of the body, is based on preference. Figures 1-7b and 1-7d show the hands about 10 -12 inches in front of his body and right about shoulder level. Some players may prefer to keep them in closer and perhaps lower or higher.
Figure 1-7a shows the batter’s weight is balanced and evenly distributed between his two feet, and Figure 1-7b shows the batter standing fairly tall in the box. Figure 1-7d shows that he is leaning slightly forward with the knees and hips slightly flexed, and Figure 1-7c shows him on the balls of his feet. The shoulders and hips are level in the stance position for most players as seen in Figure 1-7a, but this too may vary slightly.
The stance is truly a matter of personal preference. As long as it fits your own individual style and helps you to feel comfortable, relaxed, confident and alert in the box, you’re ready to swing the bat with speed and power.
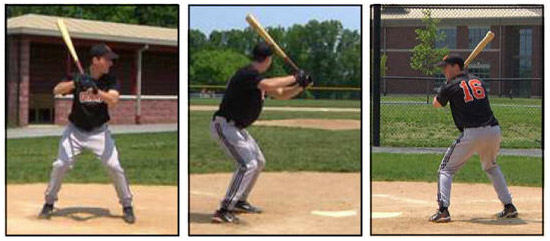
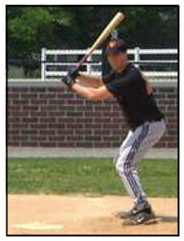
Figure 1-7a. Figure 1-7b. Figure 1-7c. Figure 1-7d.
Always glad to help!
Dr. Larry Van Such
Part 1 – The Stance
Part 2 – The Loading Phase
Part 3 – The Launch Phase
Part 4 – The Follow Through


