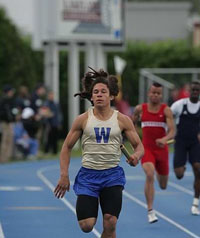
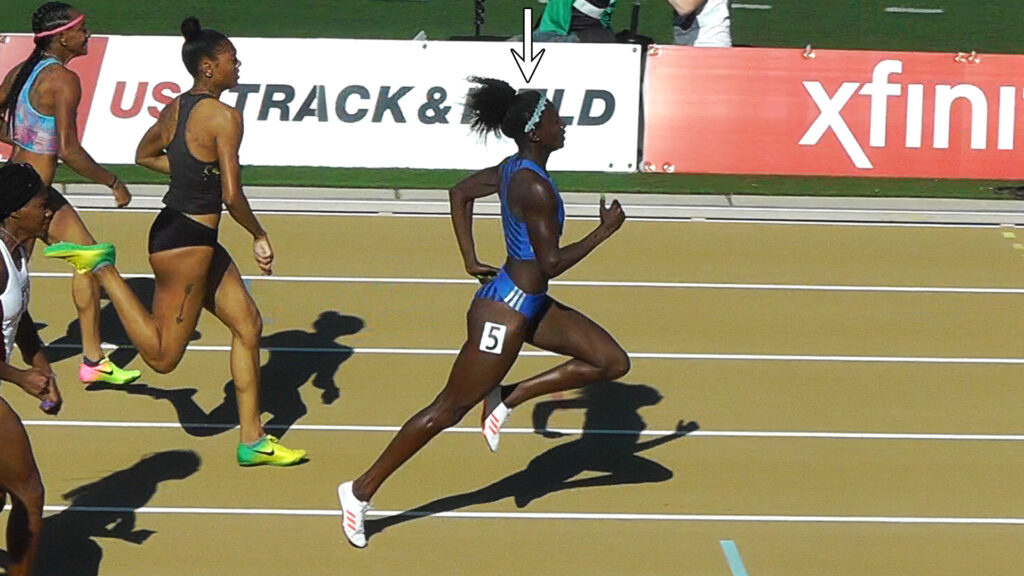
In order for you to see how the glutes/hams, quads and calves produce torque you are going to need to look at them from a different perspective because if you only look at them this way, from the side (See Figure 1)
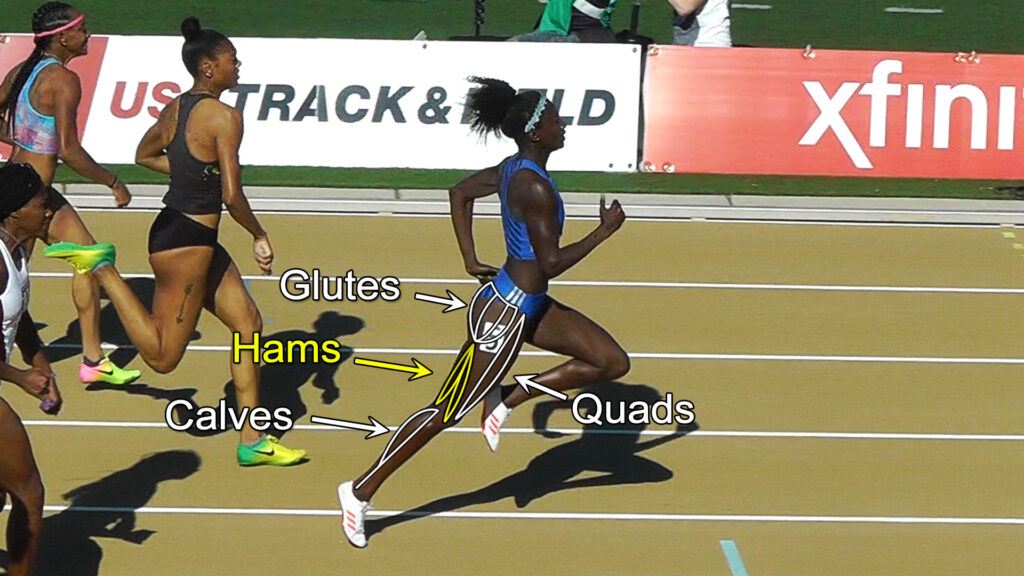
it’s going to be very hard for you to break free from the mindset that all they do is “push the body forward”. See Figure 3-2.

So, this new angle that we are going view them will be from above the athlete, as if we are looking down at the top of the head, in the direction of this arrow as shown in Figure 3.
And since I don’t have the overhead shot of our athlete here, I am going to show you an overhead view of another athlete with his arms and legs in similar positions and then I’ll use both images, or, perspectives to help me explain things better. So, let’s slide her over to the left and drop in the other athlete next to her. See Figure 4.
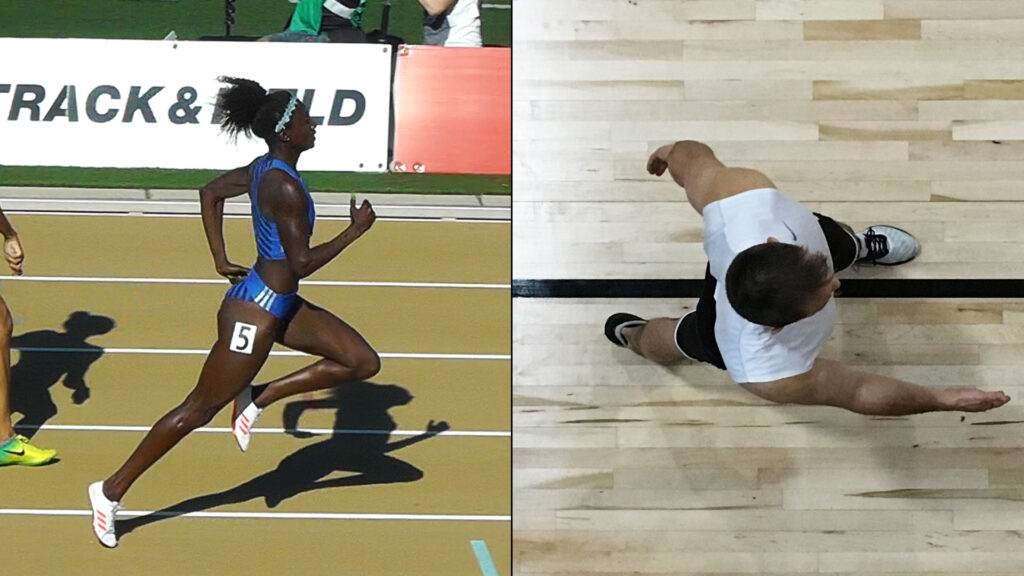
Okay, looking at these two pictures (above) side by side we see both athletes have their right legs behind them, both have their right arms in front of them, both have their left arms behind them and both have their left legs in front of them except that while our female athlete’s left leg is in the air, our male has his touching the ground which was needed simply for balance during the taking of this photo.
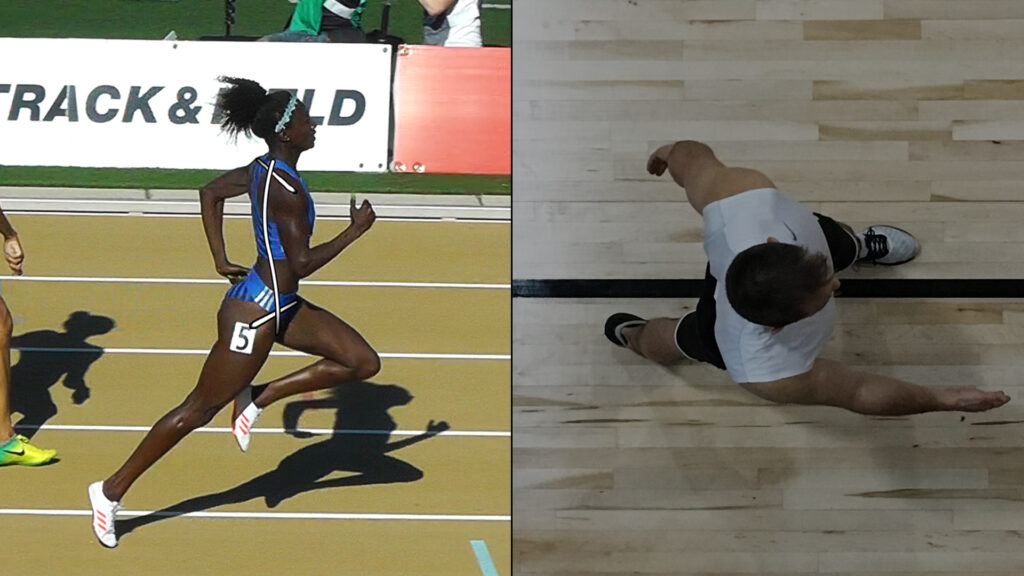
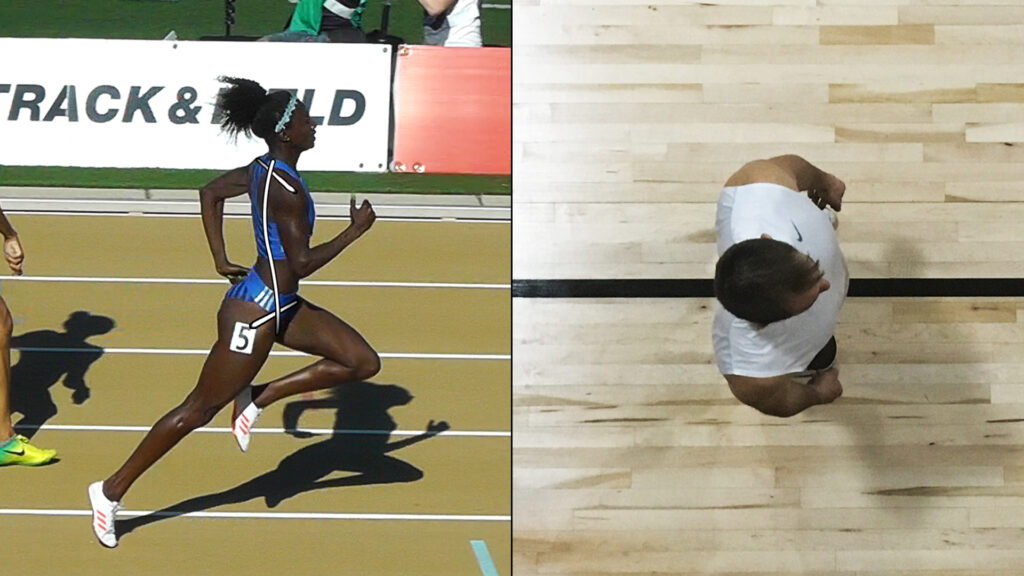
Next, I’m going to place some lines and graphics on these images. Starting with our female athlete on the left, the curved vertical line (See Figure 5 below) represents the midline of her body. The line across the top of her back (See also Figure 5, below) represents where the arms attach out at the shoulder joints and the line down across her waistline represents where her legs attach out at the hip joints. Once again, see Figure 5, below.
Now, before drawing on our male athlete, I am going to need to first back him up a bit and put him in a neutral position, like this in Figure 6 below and I will tell you why here when I’m done.
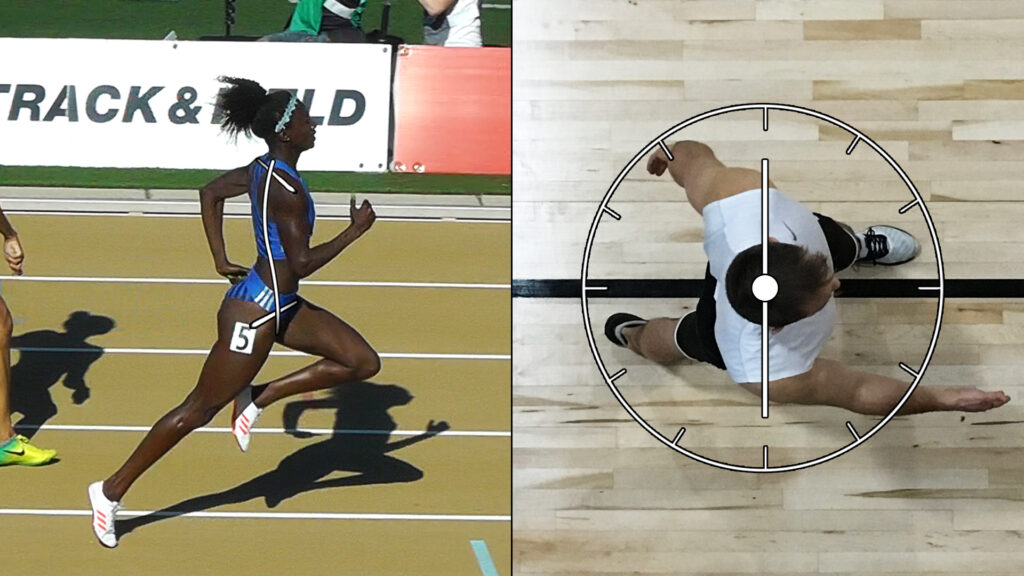
Okay, so the first thing I am going to do is start building the face of a clock around him starting with the placement of the dial, like this (See Figure 7 below) and this will help me explain the concept of rotational force or torque that takes place around the body when we run, which I suspect will be a new concept for most of you.

Next, I am going to draw a vertical line from the twelve o’clock position down to the six o’clock position. See Figure 7 above. This line could represent the hour and minute hands of this clock, but for now, what it really represents is actually two separate lines seen on our female athlete, those being her shoulder line and her hip line, except when we look down at them from above in our male athlete in this neutral position, his shoulder line becomes superimposed upon his hip line, therefore becoming one. And as we go forward, I will make sure I designate which line this one represents, that being either his shoulder line, or hip line, at the appropriate time.
And the last thing I’m going to do to this image for now is place a circle in the middle of this clock. Again, see Figure 7, above. And, it could represent the central axis, or, pivot point of the clock where the hour and minute hands rotate around but for now this line will serve as a marker for where the center, or, midline of his body lies underneath and it also corresponds to the midline on our female athlete.
Okay, so now that we have everything drawn, let’s go ahead and put him back into his original position, the one that closely matched up with our female track athlete. and as we do you will see his body rotate, or, shift a little, which is part of this torque, or, rotational force taking place on the body that we are going to get into great detail here and so it is to be expected. See Figure 8.
Now, the reason I chose to draw on him in the neutral position back in Figure 7, instead of this one (Figure 8) was because I wanted to show you where his shoulders and hips were at using only one line because if I were to draw on him now, after there’s been some rotational movement, those two wouldn’t line up anymore and it would force me to draw them separately and all that would do is clutter my image, making things more difficult to present. And again, as we go forward, I will make sure I designate which line we are referring to at the appropriate time.
Alright, the stage is set! Let’s move on to see how the glutes/hams, quads and calves produce their own torque!